 Ryan Mitchell
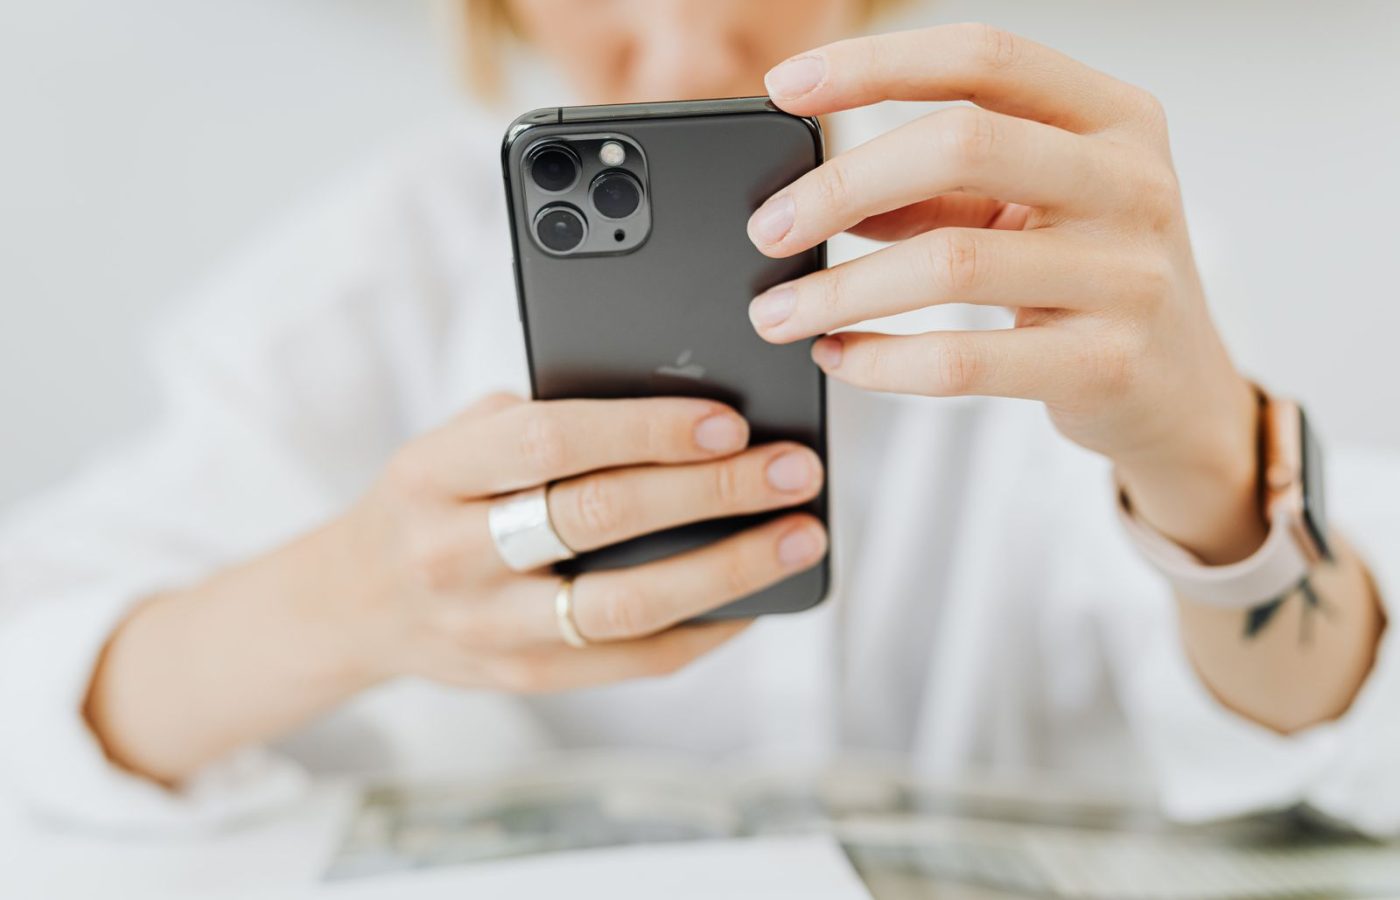
To turn off Stolen Device Protection on your iPhone, go to Settings › Face ID & Passcode (or Touch ID & Passcode), enter your passcode, tap Stolen Device Protection and switch it off. If you are away from a familiar location such as home or work, your iPhone will make you wait through a one-hour Security Delay before the change takes effect.
- The setting is in Settings › Face ID & Passcode.
- At home or work, you can usually turn it off right away with Face ID or Touch ID.
- Away from familiar places, you must wait one hour and then confirm with Face ID or Touch ID again.
- Apple recommends keeping it on in most situations because it protects your account if your phone is stolen.
What is Stolen Device Protection?
Stolen Device Protection is an iPhone security feature that Apple added in iOS 17.3. It is designed for a common type of theft where someone watches you type your passcode and then steals your phone. With the feature on, knowing your passcode is not enough to take over your account.
According to Apple Support, when your iPhone is away from familiar locations:
- Some actions need Face ID or Touch ID, with no passcode backup. Examples include using saved passwords, using saved payment cards in Safari, turning off Lost Mode and erasing the iPhone.
- Some security changes need a Security Delay. Changing your Apple Account password or your iPhone passcode means waiting one hour and then using Face ID or Touch ID again.
How to turn off Stolen Device Protection (step by step)
- Open the Settings app.
- Tap Face ID & Passcode. On iPhones with a Home button, tap Touch ID & Passcode.
- Enter your iPhone passcode.
- Scroll down and tap Stolen Device Protection.
- Switch the toggle off.
- Confirm with Face ID or Touch ID.
Why is my iPhone making me wait an hour?
If you try to turn the feature off when your iPhone is not at a familiar location, it starts a Security Delay. This is on purpose: a thief would also have to wait, which gives you time to mark the phone as lost.
What to do:
- Start the request and let the one-hour timer run.
- When it ends, you will get a notification. Go back to the setting.
- Confirm again with Face ID or Touch ID to finish.
If you go home or to another familiar location, you can usually make the change without waiting.
Why can’t I see the Stolen Device Protection option?
Apple lists several requirements. Check that you have:
- iOS 17.3 or later (Settings › General › Software Update)
- two-factor authentication on your Apple Account
- a device passcode, plus Face ID or Touch ID set up
- Find My turned on
- Significant Locations turned on (Settings › Privacy & Security › Location Services › System Services)
Should you turn it off?
For most people, it is safer to leave it on. Common reasons people turn it off temporarily include:
- preparing to sell, trade in or give away the iPhone
- sending the phone for repair
- Face ID or Touch ID not working properly
- the delay getting in the way while travelling
If you turn it off, remember to switch it back on afterwards. You can also choose Require Security Delay › Always if you want the strongest protection, even at home.
More iPhone privacy guides
Frequently asked questions
Can I turn off Stolen Device Protection without Face ID?
No. You need Face ID or Touch ID. If it is not working, you may need to fix or reset it, or contact Apple Support.
Does Stolen Device Protection drain the battery?
No. It uses information your iPhone already has, such as Significant Locations.
What counts as a familiar location?
Places where you often use your iPhone, such as home or work. Your iPhone learns these automatically.
Will turning it off erase anything?
No. It only changes security rules. Your data stays the same.